
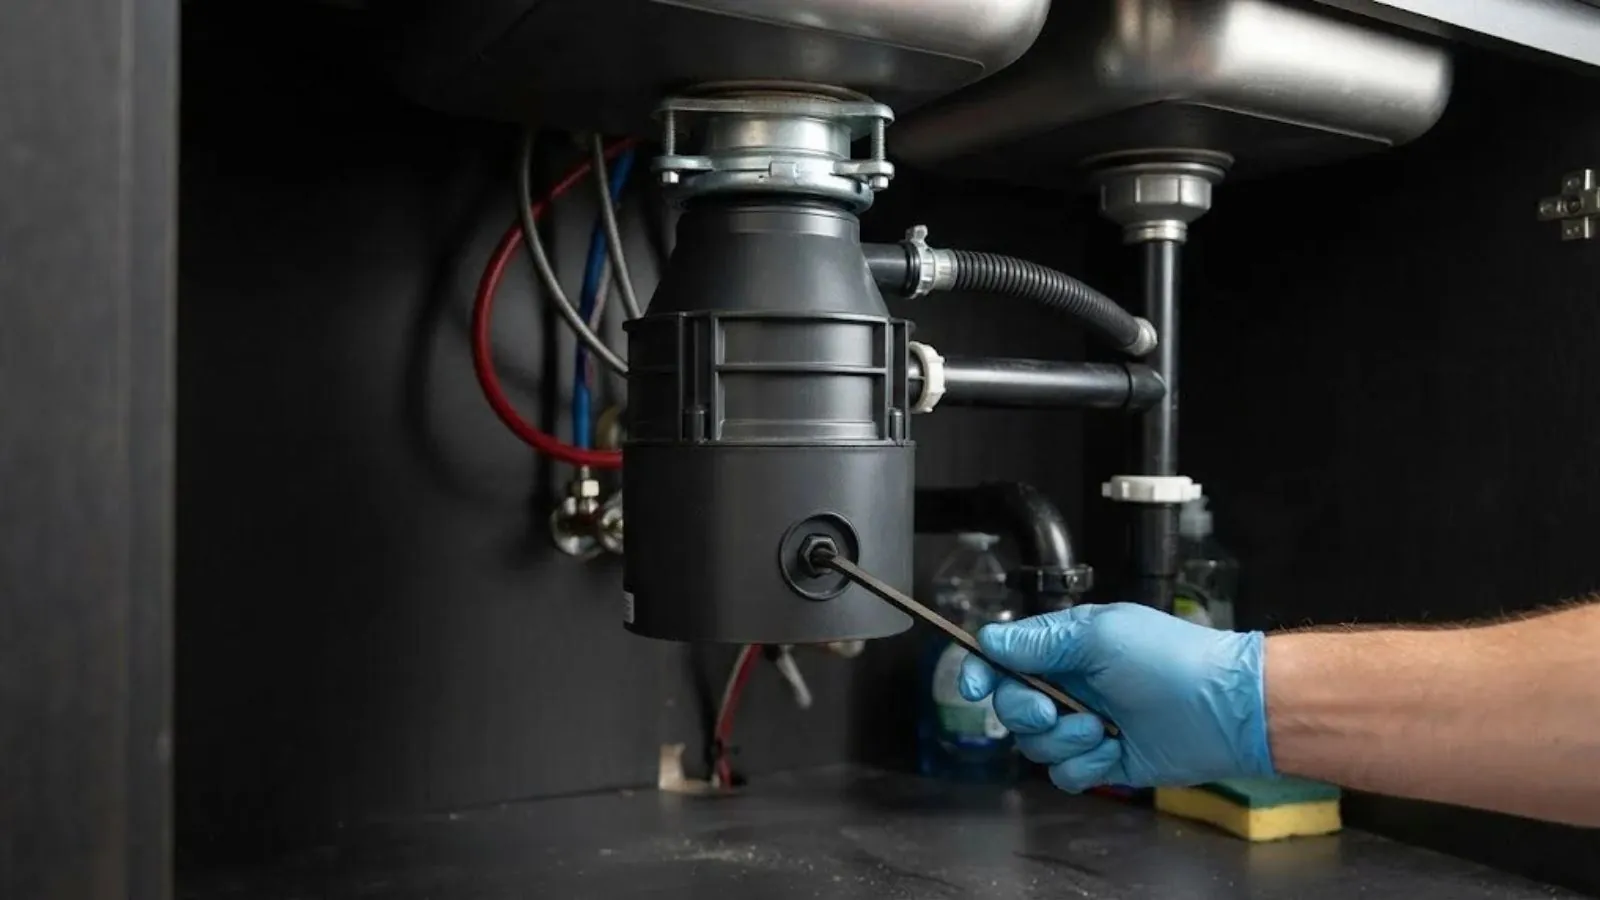
Stop the Water First
Turn off the power
Switch off the wall switch and unplug the unit or turn off its breaker.
Close the shutoff valves
Turn the angle stops under the sink clockwise.
Put a bucket under the leak
And dry the cabinet floor.
Photograph the leak
It helps with a warranty or insurance claim.
Find Where the Water Comes From
| Leak location | Likely cause | Repair? |
|---|---|---|
| Top, around the sink flange | Failed putty or loose mounting ring | Yes, reseat the flange |
| Side, discharge hose | Loose clamp or worn gasket | Yes |
| Dishwasher inlet | Loose hose clamp | Yes |
| Bottom of the unit | Cracked housing or failed seal | Usually replace |
| Reset button on the bottom | Cracked seal around the button | Usually replace |
Dry the unit and run water to find the leak. Place dry paper towels under each joint and watch which one gets wet first. A leak from the very bottom means water is escaping through the grinding chamber or the casing.
A bottom leak usually means an internal seal has worn out or the housing has cracked, often from corrosion or from the vibration of years of use.
Why a Bottom Leak Usually Means Replacement
Most disposals are sealed units, and the motor sits right below the grinding chamber. When the seal fails, water reaches the motor and bearings, which accelerates corrosion and risks an electrical short. Repairing the seal rarely holds, and the parts often cost nearly as much as a new unit.
If the unit is under warranty, check the label for the model and manufacturing date and contact the manufacturer before throwing it out.
The Parts of a Disposal and How Each One Leaks
A disposal has a mounting assembly at the sink, a grinding chamber with a spinning plate, a motor below and two outlets, one for the sink drain and one for the dishwasher. Seals at the top and between sections keep water in the chamber.
Water that has leaked around the motor can corrode the housing from the inside. By the time you see a drip at the bottom, the damage has already been under way for a while.
Troubleshooting Checklist Before You Call
Dry everything
Wipe the unit, the flange and the hoses so you can see where fresh water appears.
Fill the sink and release
Fill the sink basin and let it drain through the disposal. A leak that appears now is at the top or the drain.
Run water with the unit on
A leak that appears while grinding points to the housing or a lower seal.
Run the dishwasher
If the leak appears only then, check the dishwasher hose and its inlet.
What a Replacement Visit Includes
We disconnect the drain and dishwasher hose, release the old unit from its mounting ring and lower it out of the cabinet. We clean the old putty from the sink flange, set the new mounting assembly and hang the new unit.
Then we reconnect the discharge, knock out the dishwasher plug if there is one, wire the unit and test it with water running. The visit usually takes one to two hours.
DIY or Plumber
Replacing a disposal is a reasonable weekend job for a confident owner. The risks are electrical connections, a misaligned drain and a missed dishwasher plug that backs up the dishwasher.
A plumber is the better call if the sink drain is corroded, the wiring is unclear or the cabinet floor is already rotted.
Protecting the Cabinet While You Wait
Line the cabinet floor with a towel or a shallow tray, and keep the disposal unplugged. Check the tray each morning. A cabinet floor that stays wet for days can swell and grow mold.
Disposal leaking from the bottom?
Call and we will replace it, with a clear price first.
Choosing a Replacement
Motor size
A half horsepower unit suits light use. Three quarters to one horsepower grinds tougher waste.
Mounting system
Quick-lock mounts replace old ones faster, but not every sink fits every mount.
Noise
Insulated units run quieter.
Septic compatibility
Some models are designed for septic use, though disposals load a septic tank quickly.
What to Do After the Swap
Run cold water while the disposal grinds and for 15 seconds after. Avoid grease, coffee grounds in quantity, fibrous vegetables and bones. Never use chemical drain cleaner in a disposal.
Check the cabinet again after a day and a week to make sure every joint is dry.
We replace disposals in Chaska, Victoria and Shakopee. If the sink drain slows after a swap, drain cleaning clears the line beyond the unit, and a leaking faucet above is a faucet repair.
Water Damage Under the Sink and Chaska Water
Chaska's drinking water is hard, at 26 grains per gallon in the City's 2025 report, and mineral scale can speed corrosion of fittings and seals under a sink. A leak should be fixed promptly, since the cabinet floor soaks up water faster than most owners expect.
The City requires a plumbing permit for installation, alteration, repair or addition of plumbing, including fixture replacement, and we pull permits for work we do when required.
The disposal connection follows the Uniform Plumbing Code (UPC) on which Minnesota's plumbing code is based, including the trap and the dishwasher high loop or air gap.
Source: City of Chaska 2025 Drinking Water Report and plumbing permit information.
Questions Chaska Homeowners Ask
If the leak is at the flange, a hose or a clamp, yes. If it is from the bottom or the housing, replacement is usually the answer.
Water near electrical components is a hazard. Turn off power at the breaker before checking.
Often 8 to 12 years, depending on use.
Typical US installed costs commonly run from about $250 to $600, depending on the motor size.
The dishwasher hose connection is loose or the drain plug inside the inlet was not knocked out or has failed.
A sudden leak may be covered, but a slow leak often is not. Ask your insurer.